I’m a sucker for good packaging. A couple weeks back, while at the store, I glanced beyond my shopping cart and a can of cherry pie filling caught my eye. Did I have cherry pie filling on my list? Nope. Do I even like cherry pie? Not particularly. But that can just looked so damn pretty. It made me think of baking, and of summer, and of grandmas, and of porches with warm breezes going through them… and just like that I had a can of cherry pie filling in my cart.
When I got home I placed the can on my counter, grabbed my recipe notebook, and began playing around with ideas of how I could use this pie filling. Bars came to mind so I did my thing and, after a couple tweaks and the addition of a citrus-y friend, I had my recipe perfected. These bars have a bottom and crumble that is halfway between a pie crust and a soft sugar cookie. They are also the perfect balance of tart and sweet, and are more refreshing than one might initially believe given the fact that their filling comes from a can. If summertime was a recipe, it would be this one, and it’s so easy to make too.
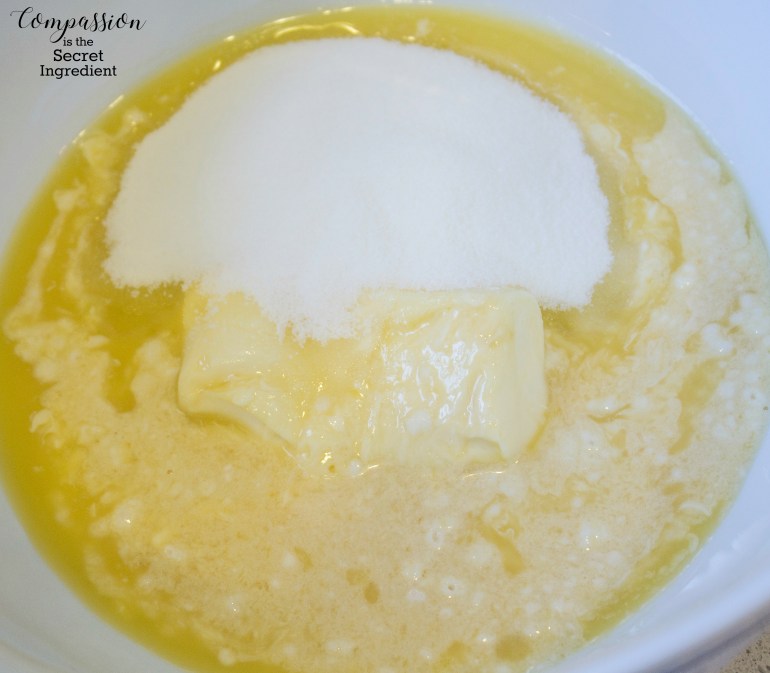
It all gets started by combining the wet ingredients together in a large bowl.
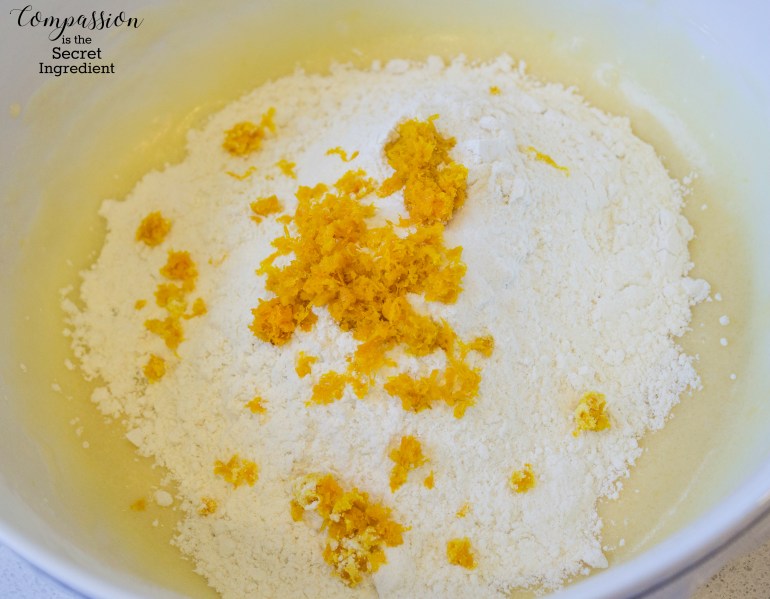
Once the wet ingredients have come together nicely, the dry ingredients (some flour, orange zest, and a little salt) can get added then everything gets a good mixing to combine.
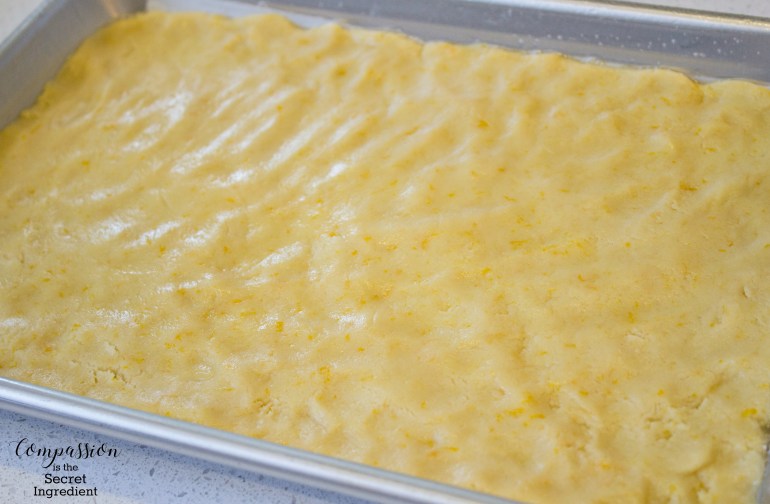
Press the 2/3rds of the dough you just made onto the bottom of a quarter sheet pan (9.5″ x 12.5″ x 1″) that has been greased and lined on the bottom with parchment paper. It will be a thin layer but do your best to get it in there evenly.
The next layer is the cherry pie filling!

Over top of the cherry pie filling, the remaining amount of your dough gets pinched and dropped to create little crumbles, then the bars are ready for baking. They will bake for 45 minutes in a 350 degree oven.

When the bars are done, let them cool completely then you can glaze ’em. The glaze is just some powdered sugar, fresh orange juice, and a little melted coconut oil. Once combined, it’s drizzled on top of the cooled bars and then they’re ready to enjoy!
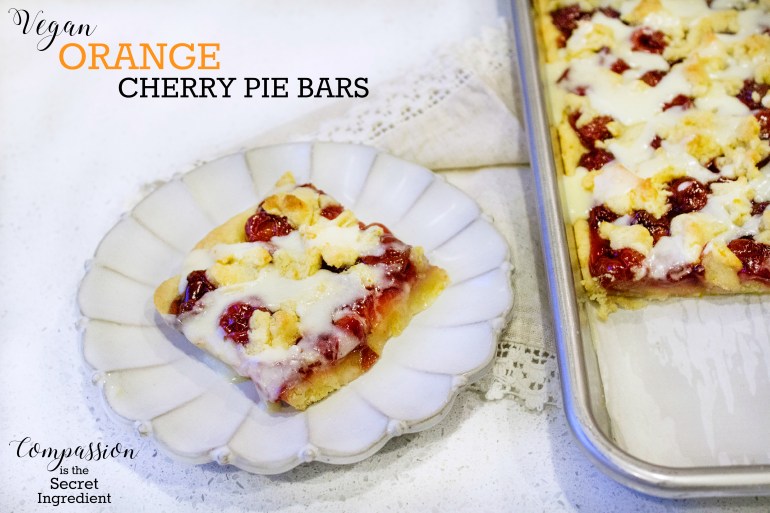
Vegan Orange Cherry Pie Bars
Ingredients
- For the dough and filling:
- 1 tablespoon Ener-G Egg Replacer + 1/4 cup fresh orange juice (2 oranges should provide enough juice for this and the glaze however be sure to zest them before you juice them because we need their zest too!)
- 1 stick of vegan “butter,” softened
- 1/2 cup sugar
- 1 1/2 cups flour
- Zest from 2 oranges
- 1/4 teaspoon salt
- 1 (21-ounce) can cherry pie filling For the glaze:
- 1/2 cup powdered sugar
- 1 tablespoon fresh orange juice
- 1/2 teaspoon coconut oil, melted
Directions
- For the dough and filling:
- In a small bowl, combine the Ener-G with the orange juice. Whisk or stir with a fork to combine (some small lumps remaining are okay) then set this mixture aside for a moment. Preheat oven to 350 degrees and prepare a quarter sheet pan (9.5″ x 12.5″ x 1″) for use by greasing it then lining the bottom of it with parchment paper. Set pan aside until we’re ready to use it.
- In a large bowl, bring together the softened “butter,” sugar, and Ener-G mixture you made a moment ago. Whisk until no lumps remain. Add in the flour, orange zest, and salt, then use a silicone spatula to fold until combined.
- Divide the dough into 3 even parts. Take 2 of the parts (2/3rds of the dough) and press it into the bottom of the pan your prepared earlier -this layer of dough will be a little thin but still try to get it in there evenly. Once that layer is done, pour on the can of cherry pie filling and smooth it out to create the next layer. Lastly, take the remaining dough and pinch and drop it onto the cherry pie filling to create crumbles evenly across pan. Bake the bars in your preheated oven for 45 minutes. When the bars are done, let them cool completely before drizzling on the glaze. Finished bars will keep in an airtight container in fridge for up to 3 days. For the glaze:
- In a medium size bowl, combine all 3 ingredients and whisk vigorously until perfectly smooth. Drizzle over top of your fully cooled bars then enjoy!

